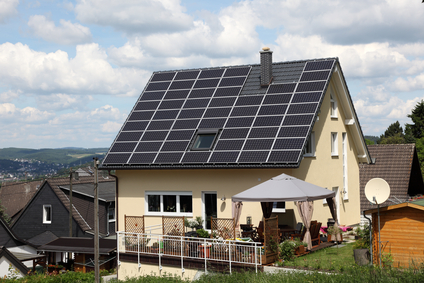
Alright, you have everything squared away with your permits as well as your building and fire code requirements and now you’re ready to get started on installing your solar panel system. It’s important to state here that most municipal fire codes and building codes require a three foot walkway between solar panel rows in order to allow for firefighters access to your roof in the event of a fire as well as for regular maintenance and repairs. It’s also important to follow all safety precautions and it’s recommended that you wear a harness and tether when working on your roof. Furthermore, you should install your solar panels on the south side of your roof due to the fact that in North America the Sun moves from east to west in a southerly arch and it provides the optimum exposure.
 |  |  |
If you are using a bracket and rail system then it’s important to follow the exact guidelines and instructions set by the manufacturer. Set your brackets at the recommended intervals according to the manufacturer’s instructions. Many manufacturers recommend that you seal the bottom and top of the bracket with either a rubberized or silicon sealant to prevent leaks in your roof.
Once all the brackets are secured to the roof then you are ready to mount the rails to the brackets. It’s important to mention that the rails may be longer than the solar panel installation, you may need to cut the rails but wait till all the solar panels are in place before cutting them in the event that you underestimated the space requirements. Make sure all the rails are secured properly before you start mounting your solar panels otherwise a panel may slip on the bracket and get damaged. Some systems use micro-inverters installed on the rails for each panel, these micro-inverters convert the DC (direct current) charge to AC (alternating current) and work in sync with your home’s power system from the grid and the breaker box.
Use extreme caution when and handling your solar panels (photovoltaic cells), take your time and mounting each panel according to the manufacturers instructions. Once you have all your panels in place remove the terminal access panels in the back of the solar panels and connect the positive and negative wires to the proper terminals. Using a multimeter test to make sure they are working correctly.
Once all the wires are connected on the solar panels you may have to connect them to an array DC disconnect which acts as a circuit hub. All the solar panels are now connected in a parallel circuit and you are ready to connect it to the power inverter unless your system is equipped with microinverters.
At this point it is important to mention the process is slightly different if you're adding a battery backup system or installing and emergency generator as a backup. If you’re just supplementing your power from the grid then your inverter would be connected to your breaker box according to the manufacturer’s instructions. Since you followed all the instructions properly, your utility meter should be running backwards on the next sunny day.


 Loading Roof101.com...